
Minecraft offers a vast array of ways to personalize your character’s appearance. From vibrant skins to unique tools, you can express yourself through various visual customizations. But what if you want to elevate your armor’s look beyond its standard design? That’s where armor trims come in! This exciting feature, introduced in update 1.20, allows you to add decorative flourishes to your armor pieces, transforming them from basic protection to fashion statements.
This comprehensive guide delves into the world of Minecraft armor trims, equipping you with all the knowledge needed to customize your armor and stand out from the crowd.
The Power of the Smithing Table: The Core of Armor Trimming
The cornerstone of adding trims to your armor is the trusty Smithing Table. This essential crafting station plays a crucial role in the trimming process. Here’s how to find and interact with a Smithing Table:
Obtaining a Smithing Table: If you haven’t already, craft a Smithing Table using four wooden planks and two iron ingots. Arrange the planks in a square formation on your crafting grid, and place the iron ingots diagonally opposite each other within the square.
The Smithing Table Interface: Interact with the Smithing Table to open its interface. You’ll see three empty slots: the leftmost for the item you want to modify (your armor piece), the center slot for the trimming template, and the rightmost slot for the material that dictates the trim’s color.
Treasures from the Deep: Unearthing Smithing Templates
The magic behind trimming armor lies in Smithing Templates. These special items determine the style of the decorative trim applied to your armor. Obtaining Smithing Templates adds an element of exploration and discovery to the trimming process.
Exploring Shipwrecks and Bastion Remnants: These structures hold a chance of containing Smithing Templates within chests. Set sail across the ocean to locate shipwrecks or venture deep underground to discover Bastion Remnants.
Trading with Villagers: Armorer villagers have a small chance of selling Smithing Templates at higher experience levels. Trading with villagers offers an alternative method to acquire templates, but it might require patience and resources to level up an Armorer villager.
Doubling Up on Functionality: Crafting Duplicate Templates
A valuable tip for armor trimming enthusiasts is the ability to duplicate Smithing Templates. This saves you from having to re-explore structures or trade repeatedly for the same template. Here’s how to duplicate Smithing Templates:
Place your Smithing Template in the center slot of a crafting table.
Fill the remaining crafting grid slots with diamonds. Diamonds act as the duplication material for Smithing Templates.
Crafting will result in two Smithing Templates, allowing you to trim multiple armor pieces with the same style.
Important Note: Using diamonds for duplication can be resource-intensive, so use this technique wisely on templates you particularly like.
A Spectrum of Style: Choosing the Right Material for Your Trim Color
Once you have your Smithing Template and armor piece ready, it’s time to personalize the trim’s color. The material you place in the rightmost slot of the Smithing Table dictates the final color of the trim. Here’s a list of common materials and their corresponding trim colors:
Iron Ingot: Silver Trim
Gold Ingot: Yellow Trim
Copper Ingot: Orange Trim
Lapis Lazuli: Blue Trim
Amethyst Shard: Purple Trim
Quartz Block: White Trim
This selection offers a wide variety of colors to complement your chosen armor and create a unique aesthetic. Experiment with different material combinations to find the perfect look for your character!
Showcasing Your Style: The Final Trimming Process
With all the ingredients assembled, it’s time to apply the trim to your armor! Here’s the final step:
Place your desired armor piece (chestplate, helmet, leggings, or boots) in the leftmost slot of the Smithing Table interface.
In the center slot, place the Smithing Template that defines the trim style.
In the rightmost slot, add the material of your choice to determine the trim color.
Click the “Smith” button on the interface. The trimming process will commence, and your armor piece will emerge with the chosen trim applied!
Important Note: The trimming process consumes the Smithing Template you used. Make sure you have duplicates if you plan to trim multiple armor pieces with the same style.
Beyond the Basics: Advanced Trimming Techniques
For experienced trimmers, a few advanced techniques can further enhance your armor customization:
Trimming Different Armor Materials: You can add trims to any armor type, including leather, iron, diamond, and Netherite. The trim will adhere to the base armor texture, creating unique visual combinations.
Mixing and Matching Trims: While a single Smithing Template applies a uniform trim style across your entire armor set, you can use different templates for each piece to create a more eclectic look.
With these techniques at your disposal, the possibilities for armor customization in Minecraft become limitless!
Flaunt Your Fashion Sense: Conclusion
Adding trims to your armor in Minecraft is a fun and rewarding way to express your personal style and stand out from the crowd. By utilizing Smithing Tables, collecting Smithing Templates, and experimenting with different materials, you can transform your armor into a fashion statement that reflects your unique personality in the world of Minecraft. So, get crafting, explore the depths, and get trimming!
FAQs
Tired of the same old look for your armor? Spice it up with Minecraft’s new armor trim system! Here’s all you need to know to add some flair to your gear.
What are Armor Trims?
Armor trims are purely cosmetic additions that allow you to customize the appearance of your armor pieces. They come in various styles and can be colored with different materials for a truly unique look.
How Do I Get Started?
1. Find a Smithing Template:
These are the key ingredients for adding trims. You’ll find them hidden in various structures throughout the world, such as shipwrecks (Coast trim) or Nether bastions (Netherite Upgrade trim). Keep exploring and looting!
2. Duplicate Your Template (Optional):
While not essential, you can duplicate your Smithing Template to have backups for multiple armor pieces. Simply place the template in the center of a crafting table, put any block underneath it, and surround the rest with diamonds.
3. Apply the Trim with a Smithing Table:
Here’s the fun part! Open your Smithing Table and you’ll see three slots:
Left Slot: Place your Smithing Template here.
Middle Slot: Put the armor piece you want to customize.
Right Slot: This is where you choose the color of your trim. You can use various materials like iron ingots (silver trim), gold ingots (yellow trim), diamonds (blue trim), and many more.
What are Some Cool Things to Know About Trims?
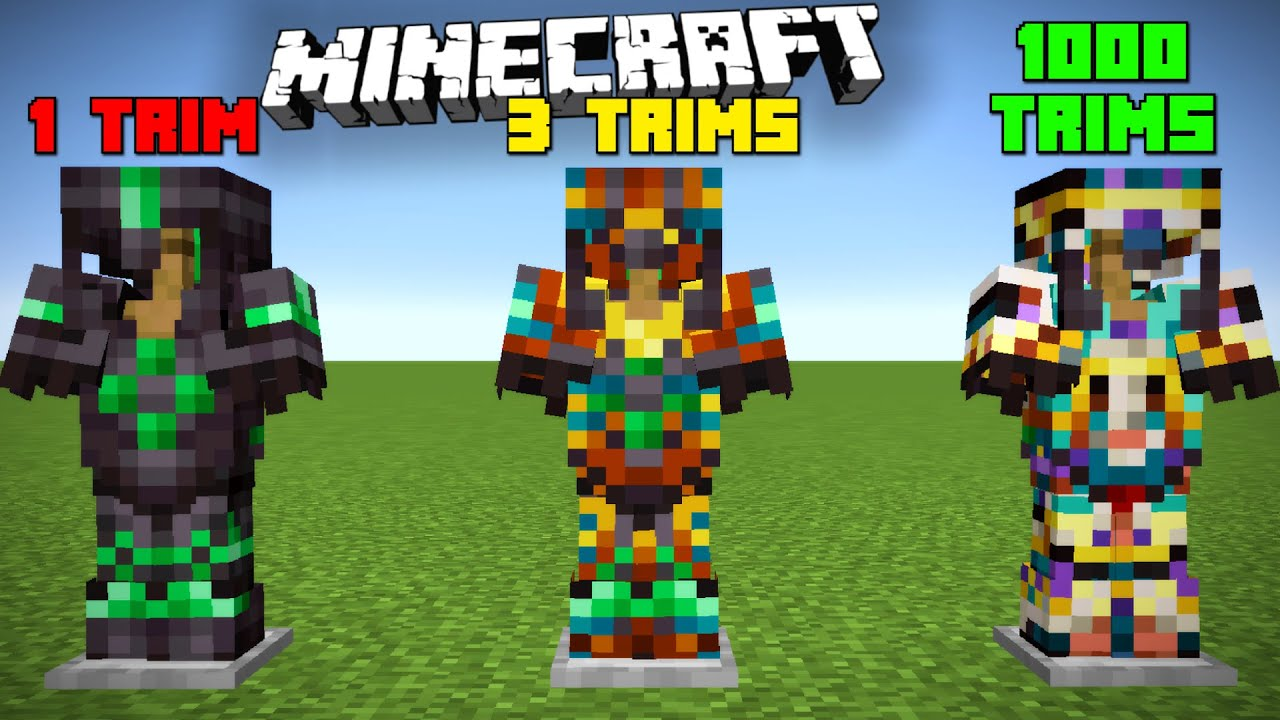
There are currently 11 different armor trim styles to discover, each with its own unique flair.
You can mix and match styles and colors for endless customization.
Trims are purely cosmetic and don’t affect the armor’s stats.
Looking for More Info?
Here are some helpful resources for your trimming adventures:
IGN Minecraft Armor Trims Guide: https://minecraft.fandom.com/wiki/Smithing_Template
YouTube Tutorial – How To Trim Your Armor in Minecraft: https://www.youtube.com/watch?v=rUepQuee23I
To read more, Click Here.